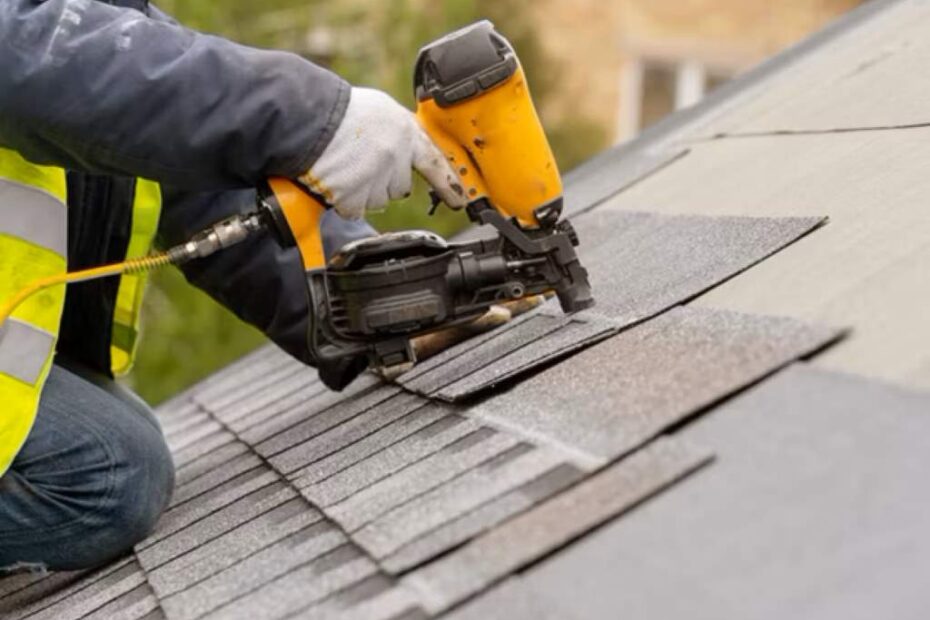
Nail guns are indispensable tools for professionals and DIY enthusiasts alike, streamlining tasks like framing, finishing, roofing, and more. However, one critical factor determines their effectiveness: the PSI (pounds per square inch) setting. Operating a nail gun at the correct air pressure ensures safety, precision, and optimal performance. In this comprehensive guide, we’ll explore the best PSI settings for various nail guns—framing, finishing, and beyond—while providing practical tips to enhance your projects. Whether you’re building a house, crafting furniture, or tackling a home improvement task, understanding PSI is key to success.
What Is PSI and Why Does It Matter for Nail Guns?
PSI measures the air pressure delivered by a compressor to power pneumatic nail guns. The right PSI ensures nails drive smoothly into materials without jamming, splitting wood, or damaging surfaces. Too low a PSI, and nails won’t sink fully; too high, and you risk over-penetration, surface marring, or even tool wear. Each nail gun type—framing, finishing, roofing, or brad—has a manufacturer-specified PSI range, typically found in the user manual or on the tool itself. Matching the PSI to the nail size, material, and task is essential for efficiency and safety.
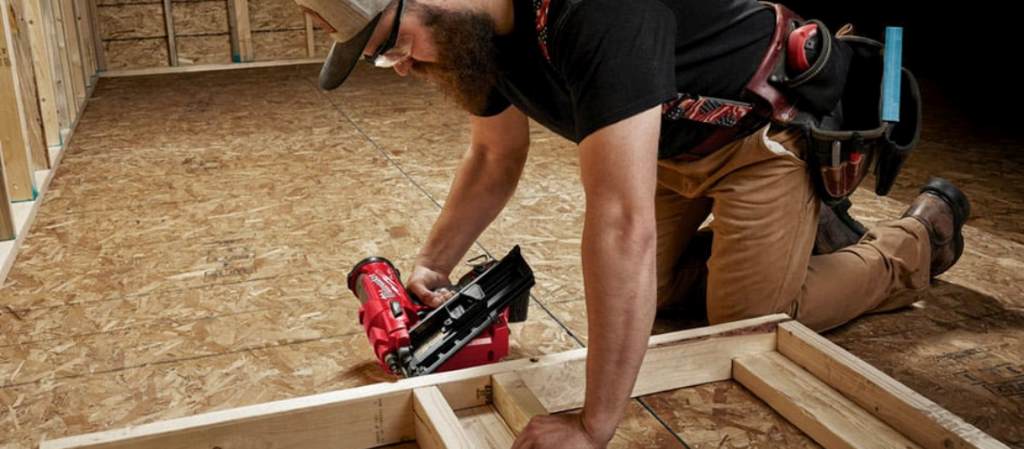
PSI for Framing Nail Guns
Framing nail guns are heavy-duty tools used for constructing walls, roofs, and floors. They drive large, thick nails (typically 2 to 3.5 inches) into dense materials like lumber or engineered wood.
Recommended PSI Range
Most framing nail guns operate best between 70 and 120 PSI. A common sweet spot is 90 to 110 PSI, depending on the nail length and material density. For example:
- Softwoods (e.g., pine): 90 to 100 PSI works well for 2- to 3-inch nails.
- Hardwoods (e.g., oak, maple): Increase to 100 to 110 PSI for better penetration.
- Thicker, longer nails (3.5 inches): May require up to 120 PSI for secure fastening.
Tips for Framing
- Check the Manual: Brands like DeWalt, Bostitch, and Hitachi vary slightly in PSI recommendations.
- Test First: On a scrap piece, start at 90 PSI and adjust upward in 5-PSI increments until nails sit flush.
- Compressor Capacity: Ensure your air compressor delivers at least 2.5 to 4 CFM (cubic feet per minute) at 90 PSI to handle continuous framing.
Incorrect PSI can cause misfires or split framing lumber, so always prioritize safety—wear goggles and gloves, and keep the tool pointed away from yourself and others.
PSI for Finishing Nail Guns
Finishing nail guns are designed for precision, driving smaller nails (1 to 2.5 inches, typically 15- or 16-gauge) into trim, molding, and cabinetry. These tools require finesse to avoid damaging delicate surfaces.
Recommended PSI Range
The ideal PSI for finishing nail guns typically falls between 60 and 100 PSI. A starting point of 70 to 90 PSI suits most tasks:
- Soft trim (e.g., pine molding): 70 to 80 PSI prevents over-driving.
- Harder materials (e.g., cherry, walnut): 80 to 90 PSI ensures nails sink properly.
- Thin or fragile pieces: Stay closer to 60 PSI to avoid splitting or surface marks.
Tips for Finishing
- Adjust for Depth: Many finishing nailers have depth adjustment dials—use these alongside PSI tweaks for perfect results.
- Surface Protection: Test on scrap wood to avoid dimpling or blowouts, especially on visible areas.
- Air Hose Quality: A lightweight, flexible hose reduces strain and maintains consistent pressure.
Proper PSI preserves the aesthetic of your finish work, ensuring a polished, professional look for baseboards, crown molding, and more.
PSI for Brad Nail Guns
Brad nail guns use even smaller 18-gauge nails (0.5 to 2 inches) for delicate tasks like attaching thin trim, crafting, or securing lightweight panels. They demand lower pressure to avoid damaging materials.
Recommended PSI Range
Brad nailers typically operate between 60 and 90 PSI:
- Light materials (e.g., plywood, thin trim): 60 to 70 PSI is sufficient.
- Slightly denser applications: 70 to 80 PSI handles most 1- to 2-inch brads.
- Rare cases: Up to 90 PSI for tougher jobs, but test carefully.
Tips for Brad Nailing
- Precision Matters: Start low and increase gradually to prevent over-penetration.
- Small Nails, Big Impact: Use the shortest nail that holds securely to minimize material stress.
- Clean Air Supply: A filter on your compressor prevents dust or oil from clogging the tool.
Brad nailers excel in subtle, detailed work, and the right PSI keeps your projects clean and secure. Discover Safe Disposal of Lithium-ion Batteries From Cordless Tools.
PSI for Roofing Nail Guns
Roofing nail guns drive coil nails (0.75 to 1.75 inches) into shingles, underlayment, and sheathing. They need consistent power to penetrate layered materials without compromising the roof’s integrity.
Recommended PSI Range
Roofing nailers generally require 90 to 110 PSI:
- Standard shingles: 90 to 100 PSI drives nails flush without tearing.
- Thicker materials (e.g., composite shingles, dense underlayment): 100 to 110 PSI ensures a firm hold.
- High-wind areas: Check local codes—slightly higher PSI may be needed for secure fastening.
Tips for Roofing
- Consistency Is Key: Maintain steady PSI to avoid uneven nail depth, which can affect weatherproofing.
- Weather Conditions: Cold temperatures may require a slight PSI boost for better penetration.
- Safety First: Wear a harness and non-slip boots, and keep the nailer off until positioned.
Correct PSI settings enhance durability and protect your roof against leaks and wind damage.
Factors Influencing PSI Settings
Beyond nail gun type, several variables affect the ideal PSI:
- Nail Size: Longer or thicker nails (e.g., 3.5-inch framing nails) need higher PSI than shorter ones (e.g., 1-inch brads).
- Material Density: Hardwoods like oak demand more pressure than softwoods like cedar.
- Compressor Performance: Check your compressor’s CFM and tank size—underpowered units struggle to maintain PSI.
- Hose Length: Long hoses (over 50 feet) can cause pressure drops; use a shorter, high-quality hose.
- Environmental Conditions: Cold weather thickens materials, potentially requiring a PSI increase.
Always consult your nail gun’s manual for the manufacturer’s PSI range, typically 60 to 120 PSI for most pneumatic models.
Safety and Maintenance for Optimal PSI Performance
Using the correct PSI isn’t just about performance—it’s about safety and tool longevity. Here’s how to stay on track:
- Safety Gear: Wear safety glasses, gloves, and ear protection to guard against misfires and noise.
- Pressure Regulator: Use a compressor with a reliable regulator to fine-tune PSI.
- Maintenance: Drain compressor tanks regularly to remove moisture, and lubricate your nail gun with pneumatic tool oil per the manual.
- Check for Leaks: Inspect hoses and fittings for air leaks that could disrupt pressure.
- Storage: Store tools in a dry, dust-free environment to prevent corrosion or jams.
A well-maintained nail gun at the right PSI reduces risks and extends the tool’s life.
Choosing the Right Compressor for Your Nail Gun
Your air compressor is the heart of pneumatic nail gun performance. For most tasks:
- CFM Rating: 2 to 4 CFM at 90 PSI suits framing and roofing; 1 to 2 CFM works for finishing and brad nailers.
- Tank Size: A 6-gallon tank handles small to medium jobs; larger 20- to 30-gallon tanks suit heavy-duty framing.
- Portability: Pancake or hot-dog compressors (2 to 6 gallons) are great for mobility; stationary models excel for prolonged use.
Match your compressor to your nail gun’s PSI and CFM needs for consistent power delivery.
Common PSI Mistakes to Avoid
- Over-Pressurizing: Excess PSI (e.g., 130 PSI when 100 is recommended) damages materials and wears out the tool.
- Under-Pressurizing: Too little PSI leaves nails proud, requiring manual hammering or re-firing.
- Ignoring the Manual: Each model varies—don’t assume one PSI fits all.
- Skipping Tests: Always test on scrap material to dial in the perfect setting.
Conclusion
Finding the best PSI for nail guns—whether framing (90-110 PSI), finishing (70-90 PSI), brad (60-90 PSI), or roofing (90-110 PSI)—unlocks precision, safety, and efficiency. Adjust for nail size, material, and conditions, and always test settings on scrap pieces. Pair your nail gun with a reliable compressor, maintain your tools, and follow safety protocols for top results. With these insights, you’re ready to tackle any project, from sturdy frames to flawless finishes. Grab your nail gun, set the PSI, and build with confidence!
Key Takeaways
- Framing: 90-110 PSI for robust construction.
- Finishing: 70-90 PSI for clean, precise work.
- Brad: 60-90 PSI for delicate tasks.
- Roofing: 90-110 PSI for durable installation.
- Test, adjust, and maintain for success.