No matter how much you love your fiberglass tub, it’s bound to crack. After all, these things are pretty old and can get damaged over time. Thankfully, epoxy putty is an excellent choice for repairing cracked fiberglass tubs. It’s easy to use and inexpensive too! In this article we’ll explain how to fix a crack in a fiberglass tub. This content is presented by https://accurehome.com/
How to fix a crack in a fiberglass tub?
Follow the steps below to repair a crack in your fiberglass tub:
Clean the area surrounding the crack with a rag and alcohol
Once the alcohol dries, you’re ready to begin. Clean the area surrounding the crack with a rag and alcohol, making sure that all dust and debris are removed from the surface. This will prevent any particles getting into your repair work and making it more difficult to do.
Sandpaper the surface of the tub to roughen it
You will need to sand the surface of the tub with a coarse sandpaper. You should use a fine grade of sandpaper once you’ve roughened up your tub’s surface. Sanding blocks can make this process easier, but they’re not necessary if you have enough patience and endurance (and maybe some help!).
Cut off adhesive tape strips to one-inch lengths
You’ll need to cut off the adhesive tape strips to one-inch lengths. Be sure to cut them at a 90-degree angle, so they don’t come loose while you’re working on your project.
When cutting the strips, start as close to the crack as possible, then proceed outward in an even pattern until you’ve removed all sections of tape.
To remove any remaining adhesive residue after removing the tape, use a nonabrasive cleaner such as rubbing alcohol or nail polish remover (which is also flammable). Get into: how to move out of a toxic home
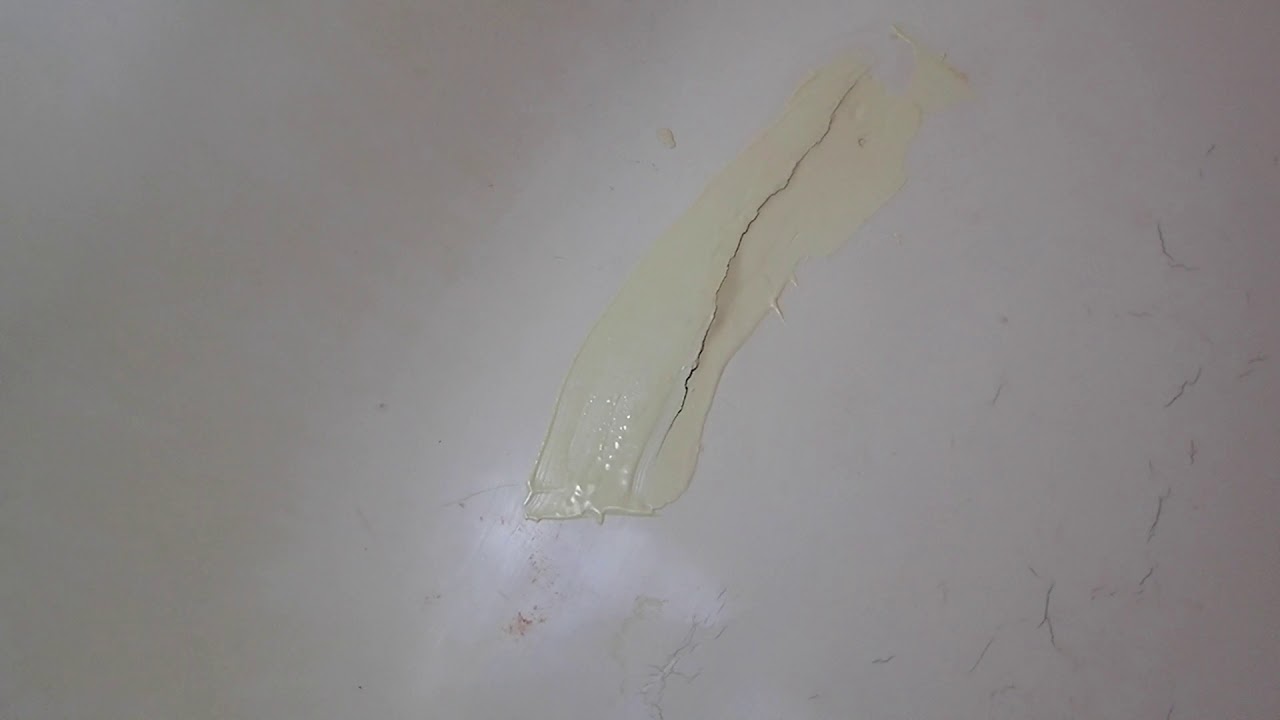
Apply epoxy to a spot the size of a quarter, centered on the crack
Apply the epoxy to a spot the size of a quarter, centered on the crack. Use a putty knife to spread out the epoxy until it is even with the surrounding material. The putty knife should be held at an angle (like you’re spreading butter on toast) so that when you drag it across the glass surface, it creates what’s called a “shear” layer of additional glass fibers in between layers of fiberglass resin and matting fiberglass matting materials.
Smooth down each piece of tape to seal
After you’ve applied all of your tape, smooth down each piece of tape to seal it onto the surface, then let dry overnight. Sanding and buffing are the final steps in this process (and those aren’t nearly as fun!).
Wet sand the repaired area until smooth
Now that the epoxy has dried, it’s time to smooth out any rough spots. This is where you’ll use your sanding block—the same one you used to apply the epoxy—and some 600-grit wet sandpaper (the higher the number, the finer). Wet sanding is a method of smoothing down surfaces by using water and fine-grit paper. It’s very easy: You just dip your paper into water, sprinkle on some soap if desired, then rub it across your surface until smooth.
Once your tub has been fully wet-sanded, use a dry rag to wipe away any excess dust or debris from its surface. Now it’s time for rubbing compound and a buffing wheel! Rubbing compound is an abrasive paste used for polishing hard materials like metal or stone; its most popular form today is Turtle Wax Polishing Compound Of course not everyone has access to this stuff at home so if all else fails there are plenty of other ways to get rid off those pesky scratches left over from your last DIY project (more on those later).
Cracks can be small, or they can run from one end of a tub to the other. Epoxy putty is an excellent choice for repairing a cracked fiberglass tub because it is easy to use and will bond with the existing surface of your bathtub. The two-part epoxy putty mixes well together and should be applied directly over the crack(s). After applying the epoxy, you may need to apply some pressure with your hand or a roller so that it fills in all areas around the crack.
Conclusion
Congratulations! You’ve now repaired your cracked fiberglass tub. We hope this guide has helped you understand how to fix a crack in a fiberglass bathtub. The process is not difficult, but it does require some patience and attention to detail. With these qualities in mind, we are confident that the task will go smoothly for you as well!