Epoxy is a popular flooring material that is durable, long-lasting, and easy to clean. It’s a great choice for garage floors as it can withstand heavy traffic, stains, and spills. Epoxy flooring also adds a sleek, polished look to your garage, making it a more enjoyable space to spend time in. In this article, we’ll take you through the steps of epoxying a garage floor, from preparation to finish. The content is presented by Homeplanidea.com
Step 1: Prepare the Garage Floor
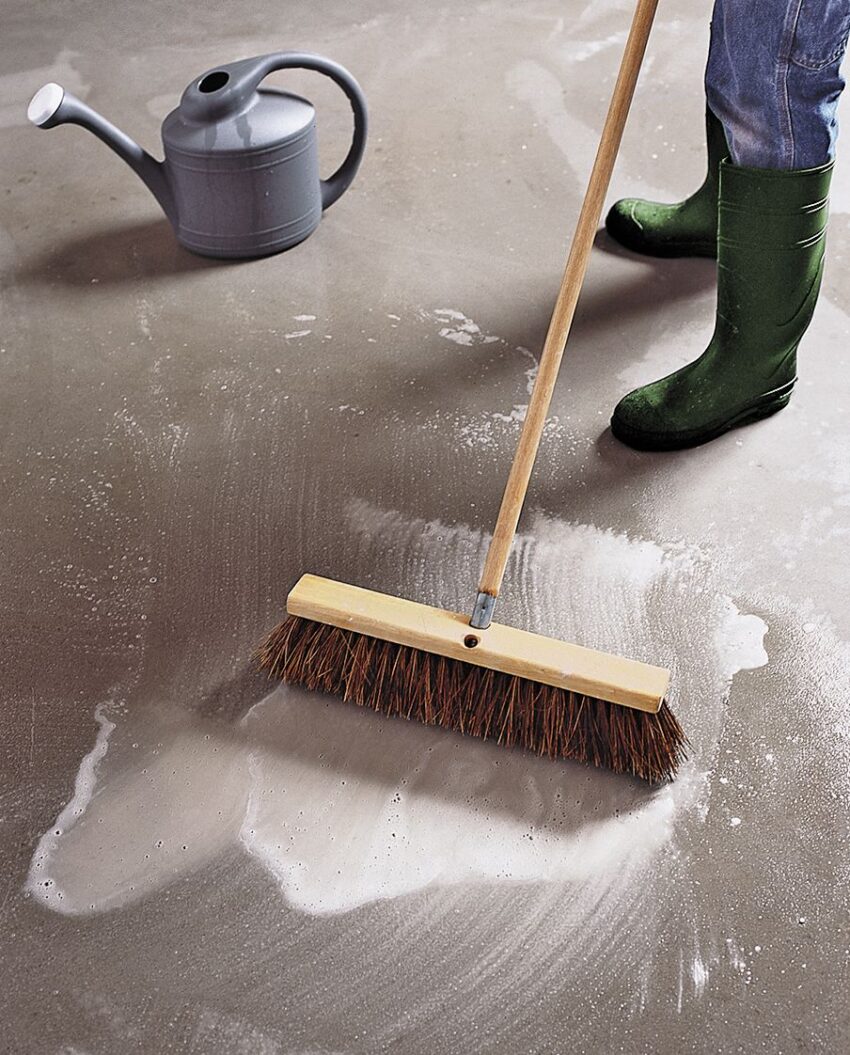
Before you can begin epoxying your garage floor, you need to prepare the surface. This involves cleaning the floor thoroughly, repairing any cracks or holes, and etching the surface to ensure the epoxy adheres properly.
Step 2: Apply the Base Coat
Once the floor is prepared, it’s time to apply the base coat of epoxy. This is the first layer of epoxy that will act as a primer and provide a strong foundation for the topcoat. Let’s Keep Your Home Safe with Top-Grade Garage Door Hinges
Step 3: Add Decorative Flakes (Optional)
If you want to add some texture and color to your garage floor, you can add decorative flakes to the epoxy while it’s still wet. This will create a speckled, terrazzo-like effect that looks great in garages.
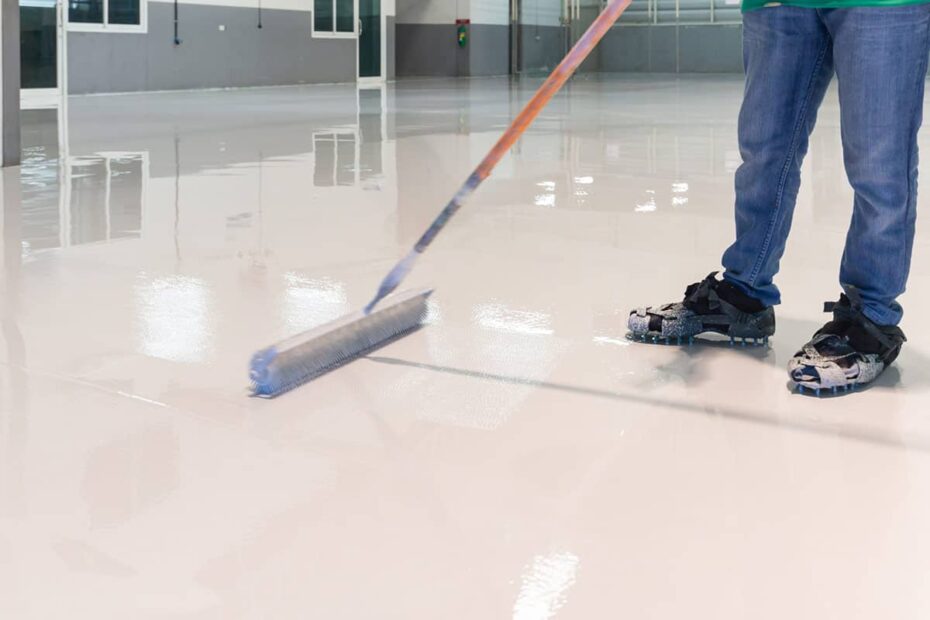
Step 4: Apply the Topcoat
After the base coat has cured, it’s time to apply the topcoat of epoxy. This is the layer that will give your garage floor its shine and protection. Make sure to follow the manufacturer’s instructions for mixing and applying the topcoat.
Step 5: Let the Epoxy Cure
Once the topcoat is applied, you need to let the epoxy cure for at least 24 hours. This will give it time to harden and fully bond to the garage floor. Avoid walking on the surface or parking on it during this time.
Step 6: Add a Non-Slip Additive (Optional)
If you want to make your garage floor safer, you can add a non-slip additive to the topcoat of epoxy. This will create a rougher surface that provides better traction, especially when the floor is wet.
Step 7: Enjoy Your Newly Epoxyed Garage Floor
After the epoxy has cured, you can enjoy your newly renovated garage floor. It will be durable, easy to clean, and look great for years to come.
In conclusion,
Epoxying a garage floor is a great way to improve the durability, appearance, and value of your garage. With the right tools and techniques, you can epoxy your garage floor yourself and achieve professional-looking results. By following the steps outlined in this article, you’ll be able to create a strong, beautiful surface that will last for years to come.
Remember, preparation is key when it comes to epoxy a garage floor. Take the time to clean, repair, and etch the surface properly, and follow the manufacturer’s instructions for mixing and applying the epoxy. With a little patience and attention to detail, you’ll have a garage floor that you can be proud of.
If you have any questions or concerns about epoxying your garage floor, be sure to consult with a professional or the manufacturer of the epoxy product you’re using. And always prioritize safety by wearing gloves, goggles, and protective clothing while working with epoxy.
Thank you for reading, and happy epoxying!